CMZTECH.NET
  • Blog
  • Graphics
  • Virtual Reality
  • 3D Printing
  • Fun Stuff
  • Contact

Photogrammetry: An approach

5/11/2017

0 Comments

 
This is the work flow I'm using to convert photos into 3d models for rendering in blender.  Obviously this isn't the best or only way to do this but it's what I've been using so far.  This also isn't intended as a full tutorial. 
​
There are 2 tools in use:
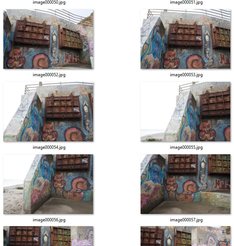
  • Regard3D - Free open source structure from motion software
  • Meshlab - Free open source application for processing triangular meshes

Step1: Take photos

Take lots of photos of your chosen subject.  
  • Make sure there is plenty of overlap between the photos so the algorithm can detect and match features in multiple images.  
  • This works best on a overcast day.
  • Use your cameras sharpest f-stop.  If not sure use f8.
  • Use a low iso to get clean sharp image.


Picture

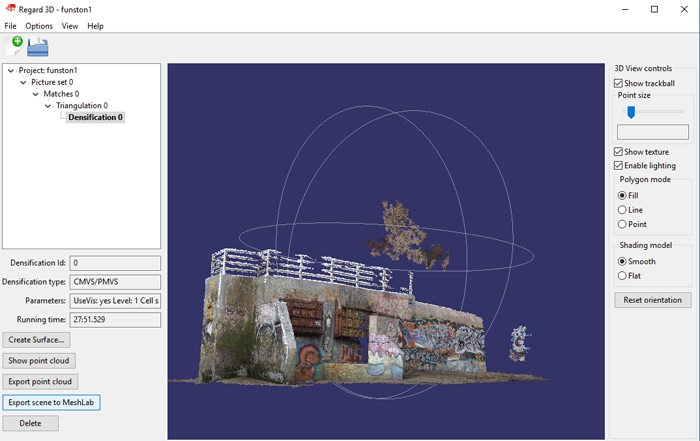
Step2: Generate mesh using Regard3d

Regard3D is used to convert the image set into a 3d mesh.  This is done in a series of steps.  These are shown in the project window below, but basically you load the image set, generate matching points between images, triangulate the result, then densify it.
Picture

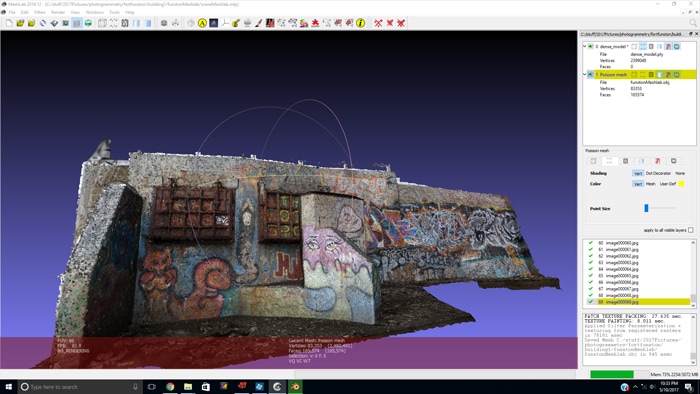
Step3: fix up in MeshLab

In MeshLab we run a series of filers over the data to convert it into a model we can load into other applications.
  • Screened Poisson Surface Reconstruction - Generate a water tight mesh, set reconstruction depth to 12
  • Remove any vertices that don't contribute to the model
  • Quadric Edge Collapse Decimation - Set the target number of faces to something reasonable
  • Remove Faces from Non Manifold Edges - A edge should only be attached to 2 faces
  • Parameterization + texturing from registered rasters  - Set texture size to something big
  • Export mesh as .obj file


Picture

Step4:Results

The model was imported into Blender and a simple cycles shader node created using the texture.  The data can then be rendered or modified as needed.    I definitely could have taken some time to clean up the edges.
Here's another rock.  Or is it a giant mountain range.  Once in the 3d package, it could be anything :-)
0 Comments


Leave a Reply.

    David Coombes

    Making stuff

    Categories

    All
    3D Graphics
    3D Printing
    3D Scanning
    AI
    Blender
    Cycling
    Development
    Environment
    Futurism

    Archives

    February 2023
    November 2022
    April 2022
    February 2022
    January 2022
    February 2021
    January 2021
    November 2020
    May 2020
    April 2020
    March 2020
    February 2020
    December 2019
    November 2019
    September 2019
    August 2019
    July 2019
    January 2019
    December 2018
    October 2018
    August 2018
    June 2018
    April 2018
    March 2018
    February 2018
    January 2018
    July 2017
    June 2017
    May 2017
    April 2017
    March 2017
    January 2017
    September 2016
    August 2016
    July 2016
    May 2016
    April 2016
    March 2016
    December 2015
    November 2015
    August 2015
    July 2015
    June 2015
    April 2015
    March 2015
    February 2015
    January 2015
    December 2014
    November 2014
    October 2014

    RSS Feed