CMZTECH.NET
  • Blog
  • Graphics
  • Virtual Reality
  • 3D Printing
  • Fun Stuff
    • furiosus tangeret solum vitrum >
      • A new friend
      • Chorazin
      • Curious1
      • MRGAMERESOURCES
  • Contact

A Goblin: First OK Print

2/20/2020

1 Comment

 
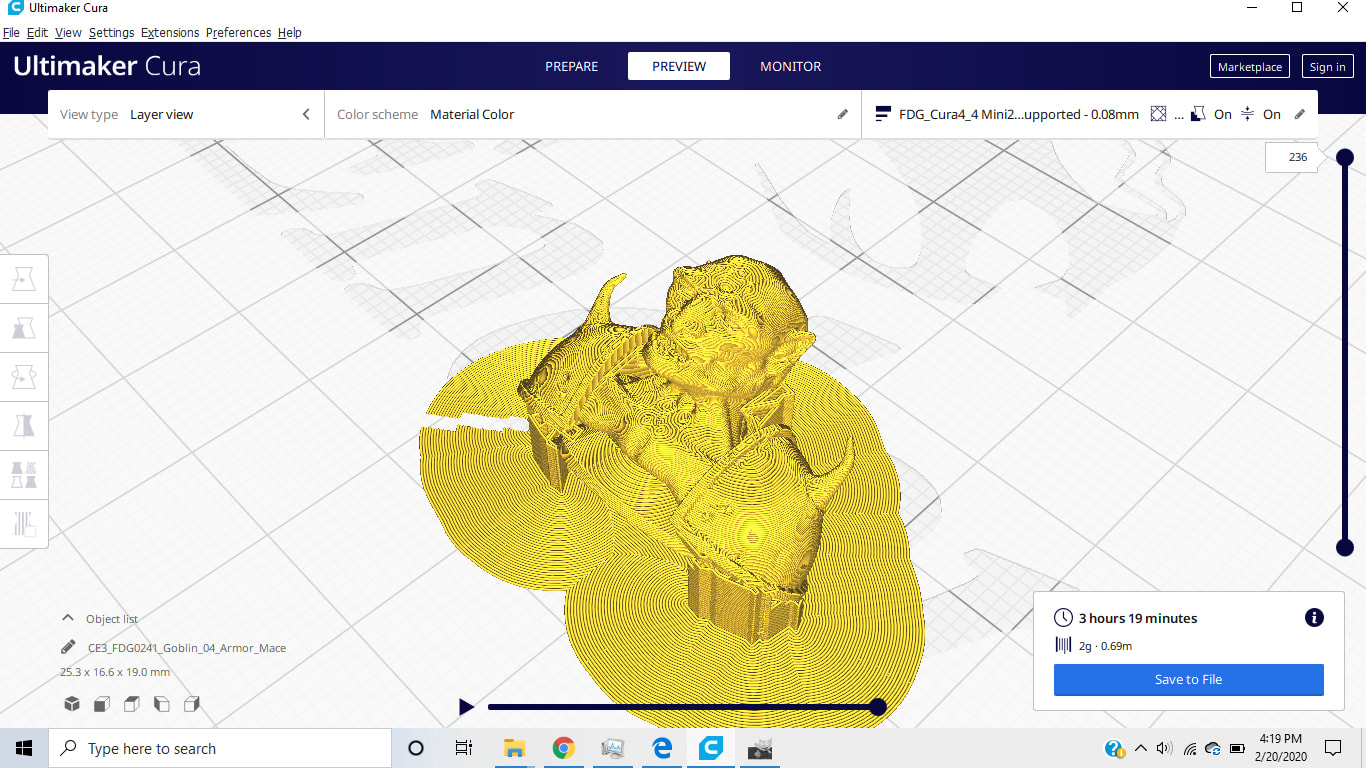
Printed a Goblin from Fat Dragon Games using their custom profile for Cura and a .20 nozzle.  I've deliberately painted it to emphasize the layer lines.  At normal viewing distances of around a foot, the layer lines are not visible.  I'm pleased with the performance of the printer although it's very slow at this quality level. This print took around 5 hours.
Fat Dragon Games has some excellent set up videos, some printer profiles that seem to work well with the latest version of Cura and their models are fun looking and seem well designed for printing.
It's important to realize this model is 32mm tall, so the photo is much larger than real life.

Picture
1 Comment

What Colour PLA Should I Pick?

2/20/2020

0 Comments

 
Like colour makes difference to me? I'll be painting everything I make anyway.  My printer shipped with a small roll of white PLA.  It seems to work great, but because it's white and slightly translucent it can be a bit hard to see, so I bought a giant drum of red PLA instead.  It's slightly easier to evaluate the prints.
This does make me wonder though, why is PLA sold in such large rolls?  For the small things I plan to print a single large drum is a lifetime supply.  I would have rather bought a selection pack of different colours in shorter lengths.  My current print is going to use 2g of material and takes ~4 hours :-0 
Picture
0 Comments

Setting up an Ender 3

2/18/2020

0 Comments

 
Found myself in a situation where I needed a project for about a month so I picked up an Ender 3 Pro to have a play.  I've seen some very impressive prints from these basic FDM printers, but I've also seen some terrible prints too....

This is Not a Setup Guide

I'm an idiot, don't listen to me.  Apparently these things are as easy to build as IKEA. I found it a bit of a pain to put together.
Where are the instructions?
There are some instructions in the box, but most are on the micro sd card. There are also some test print files. However the test print models are pretty big, you might want to find something smaller to start with.
Get the base flat:
Take the base out of the box (the big bit shaped like an H) on a flat surface and check that all four feet are touching and that it doesn't rock. If it does, it's not aligned.  You'll need to slacken off the bolts holding it together and get it straight.
Get the uprights parallel:
The next step would have you attach the 2 vertical extrusions to the base.  However all the holes are slightly over sized so you can make life easy on yourself by attaching the top piece to the verticals on a flat surface to make a U shaped component. That way you know the verticals are pretty well aligned with each other.  Attach them to the base, and then remove the top bar to finish assembly.
Adjust build plate:
The build plate moves back and forth on the y axis ( z is up and x is left to right).  The plate runs on 4 wheels on the extrusion.  If its wobbly, tighten the eccentric nut with the included wrench until it moves smoothly without wobbling.
Check for alignment:
With the printer assembled but powered off, it should be possible to smoothly move the parts along all 3 axes.  Z will be tighter because of the worm drive, but the worm drive shouldn't be bent or under load.  If the print head carriage is binding, your printer is bent.  Undo the bolts and straighten it out.  This is why I suggest starting with a known good flat base and getting the verticals perpendicular.
Limit Switch:
The original Ender came with a glass bed.  The pro comes with a magnetic bed.  The glass is much thicker than the mag bed which means the Z limit switch isn't in the right place.  It's keyed to the frame with a little plastic tag.  Reddit said cut it off so I did, then with the bed springs crushed down more than 50% I guesstimated a good spot for it.  While we are talking about bed springs, the stock ones are a little weak, get some stiffer ones.  They are an easy and cheap upgrade.
Plug:
My unit came with the correct voltage PSU and English instructions but a French plug so go figure. Also since one of these machines once caught fire, I got a smoke alarm that lives by the printer

Summary:
Assembling this thing was not at all straightforward or foolproof. Bring patience and your A game. It doesn't help that the entire unit is made out of black materials.  If would be much easier to see what was going on if it were made in a lighter colour. It took me 2 afternoons to assemble because of the alignment issues. 
​
Enough moaning, once I got it together it works fine :-)


0 Comments

    David Coombes

    Making stuff

    Categories

    All
    3D Graphics
    3D Printing
    3D Scanning
    AI
    Blender
    Cycling
    Development
    Environment
    Futurism

    Archives

    February 2024
    January 2024
    November 2023
    September 2023
    August 2023
    February 2023
    November 2022
    April 2022
    February 2022
    January 2022
    February 2021
    January 2021
    November 2020
    May 2020
    April 2020
    March 2020
    February 2020
    December 2019
    November 2019
    September 2019
    August 2019
    July 2019
    January 2019
    December 2018
    October 2018
    August 2018
    June 2018
    April 2018
    March 2018
    February 2018
    January 2018
    July 2017
    June 2017
    May 2017
    April 2017
    March 2017
    January 2017
    September 2016
    August 2016
    July 2016
    May 2016
    April 2016
    March 2016
    December 2015
    November 2015
    August 2015
    July 2015
    June 2015
    April 2015
    March 2015
    February 2015
    January 2015
    December 2014
    November 2014
    October 2014

    RSS Feed