3 weeks with an Ender 3 Pro, printing model and miniature related content. What did I learn?
Quality of the Prints
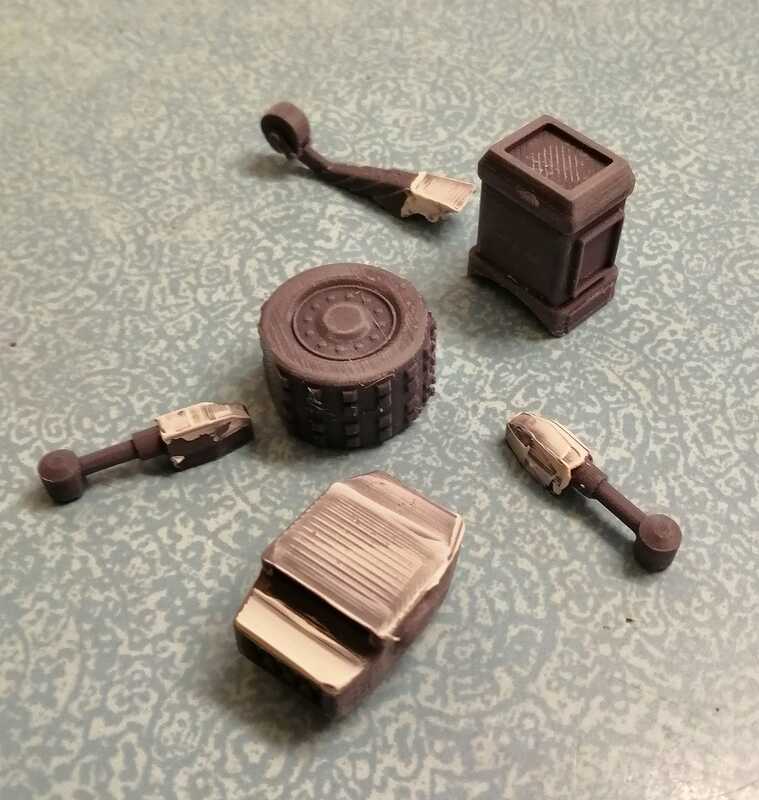
I tried the Ender with a .4 and a .2 nozzle. The .2 nozzle and a small layer height will give the best quality. However even at the highest levels layer lines are still visible. This basically means if you are making miniatures for display, it isn't good enough (in my opinion). If you just want models for a game and don't care too much about quality then may be its OK. Printing at high quality is very slow.
Another issue is glitches in the printer. Obviously the Ender3 pro is very cheap and we are trying for very high quality prints, so any glitches or slips are a bad thing. There are things you can do to minimize these like adding filters to the stepper motors, doing better calibration etc but there is a limit. I had small amounts of slippage in x and z directions on most of my prints. What this means is to get a perfect print you may have to print the model more than once.
The conclusion I came to was the extra quality provided by the finer nozzle wasn't worth the extra time involved in printing and that the printer is too slow.
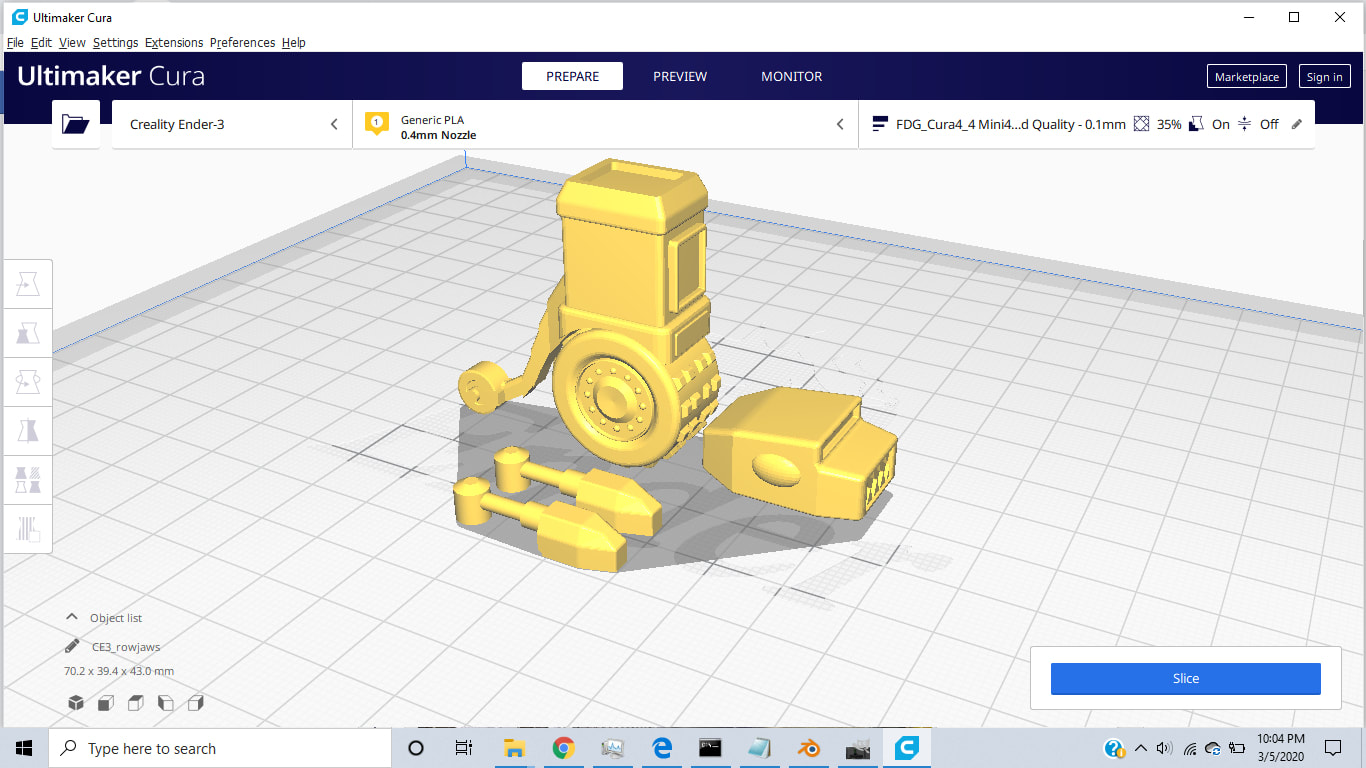
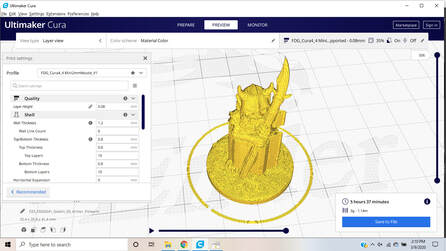 Cura, the slicing program
 Default Quality = 2 hours
High Quality = 6 hours
High Quality = 6 hours
Slicing
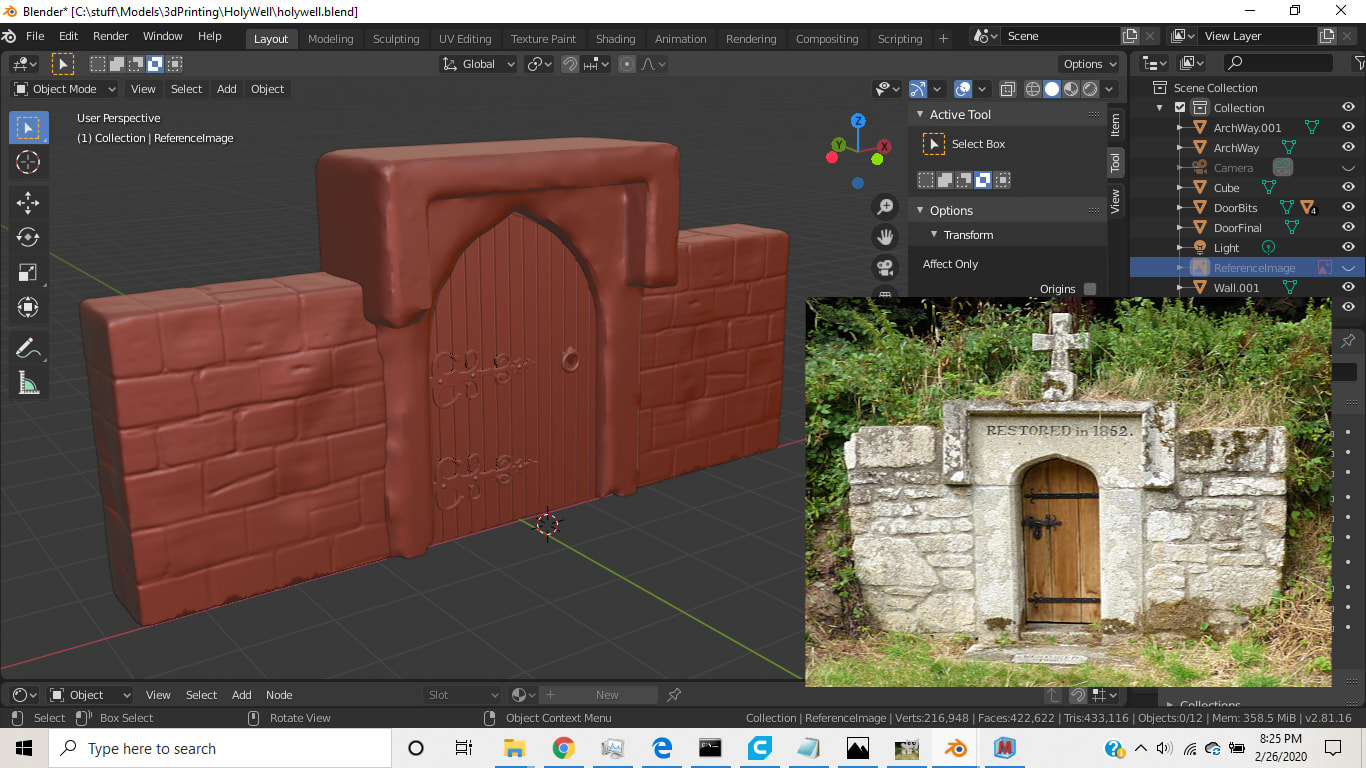
Before I got the printer I had done quite a bit of 3D printing using services like ShapeWays but I'd never had direct exposure to slicing. Cura is a free slicer and seems popular with the miniatures community. It generates the gcode (Tool path) for the 3d printer. I had assumed that the slicer would just "rasterize" each slice but actually the fill pattern is quite complex, aiming for best quality whilst having a hollow component. Cura is also where you add stuff like supports which are required to enable overhanging regions in the model. You can also orient a model so that the supports don't obscure details on the face or front of the model.
The biggest thing I learned about slicing was to trust the slicer. You can move up and down the layers and play the tool path in the preview option after slicing. Carefully checking the model Cura before printing saves hours of frustration with failed prints.
I used the fat dragon games profiles for the printer, they are popular and work well. Their models are also very nice if a bit simple, however they print without the use of supports and so are ideal for use with an FDM printer. Definitely worth checking out.
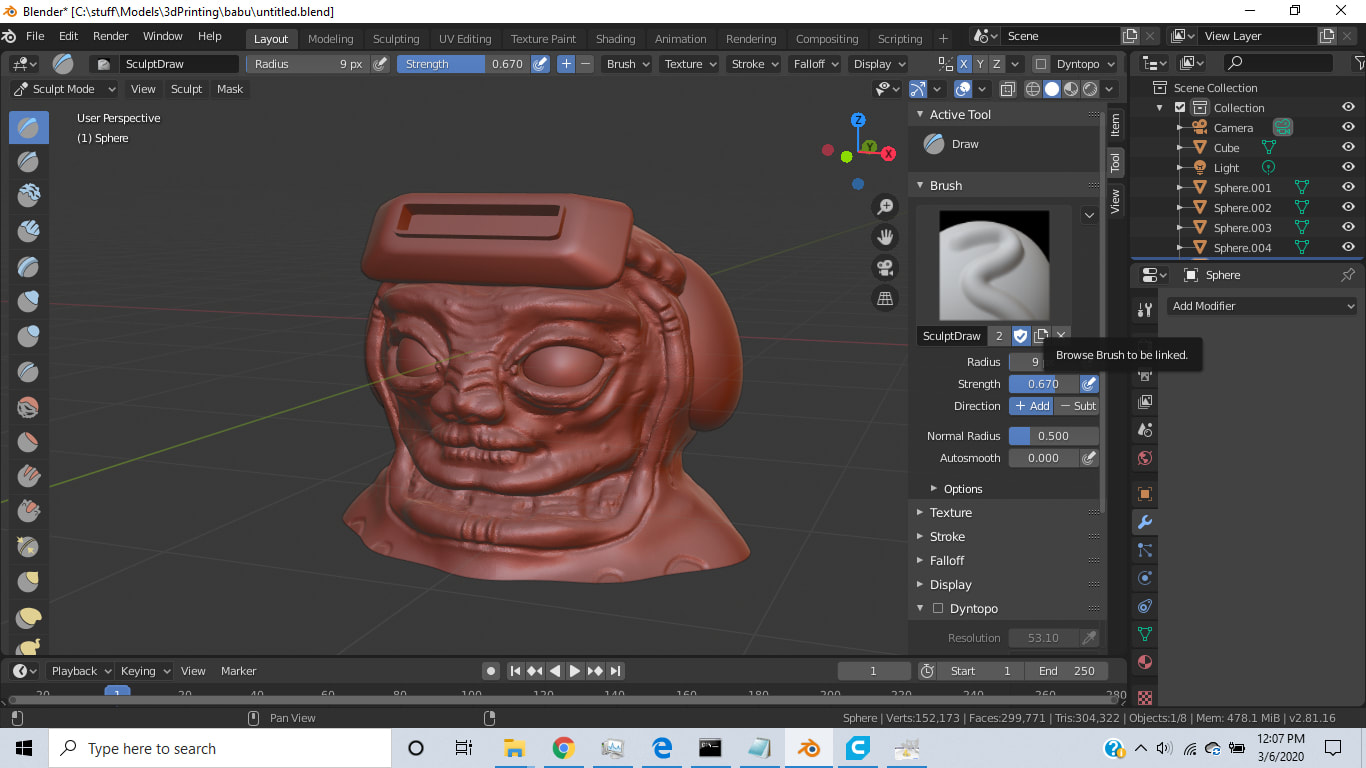
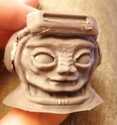
Finishing
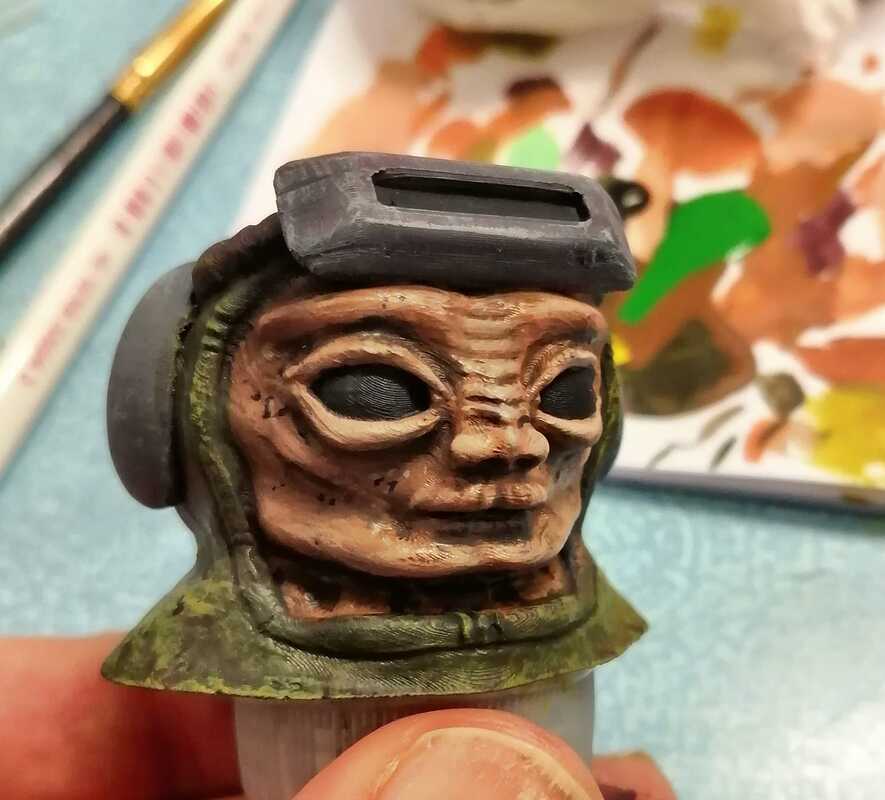
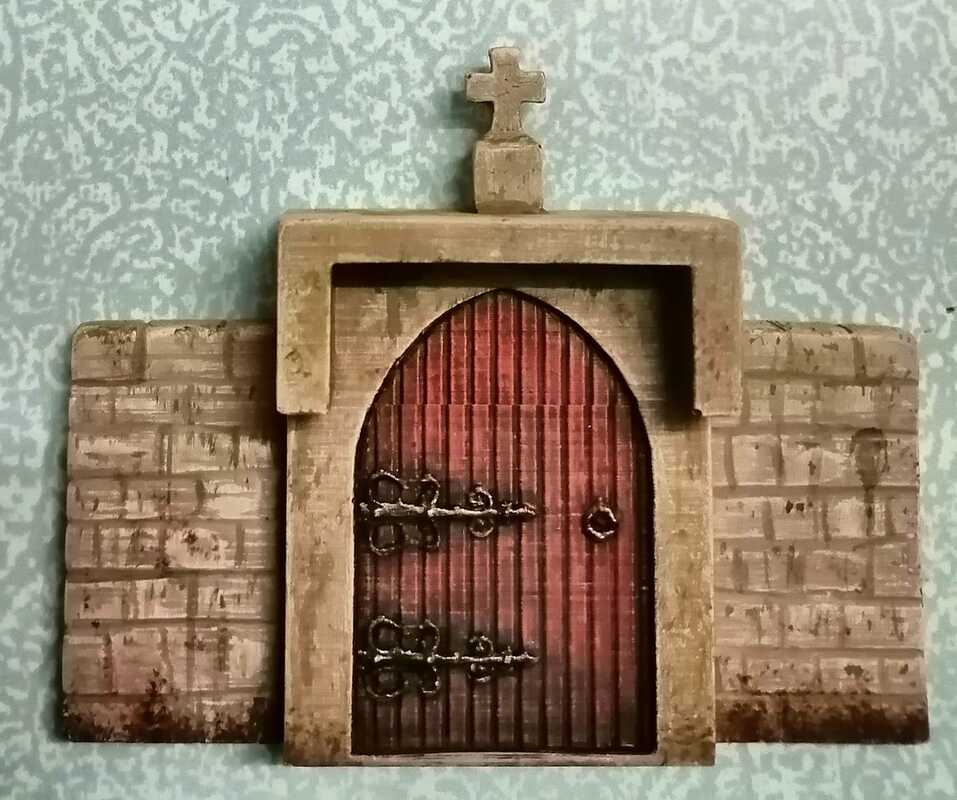
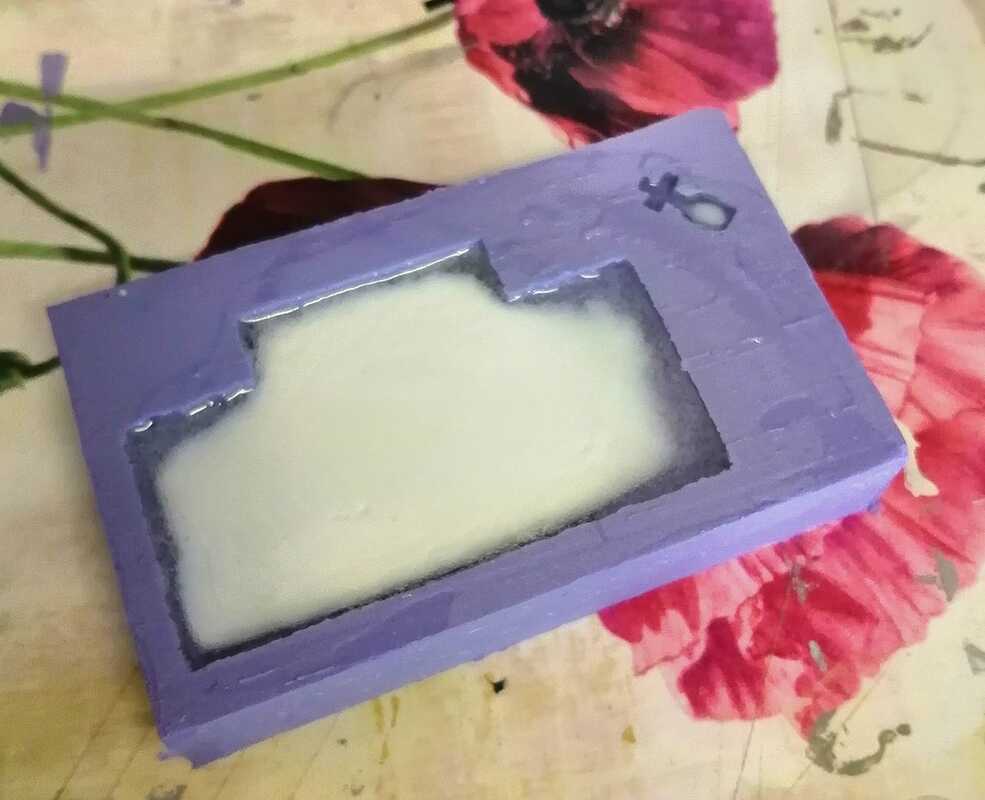
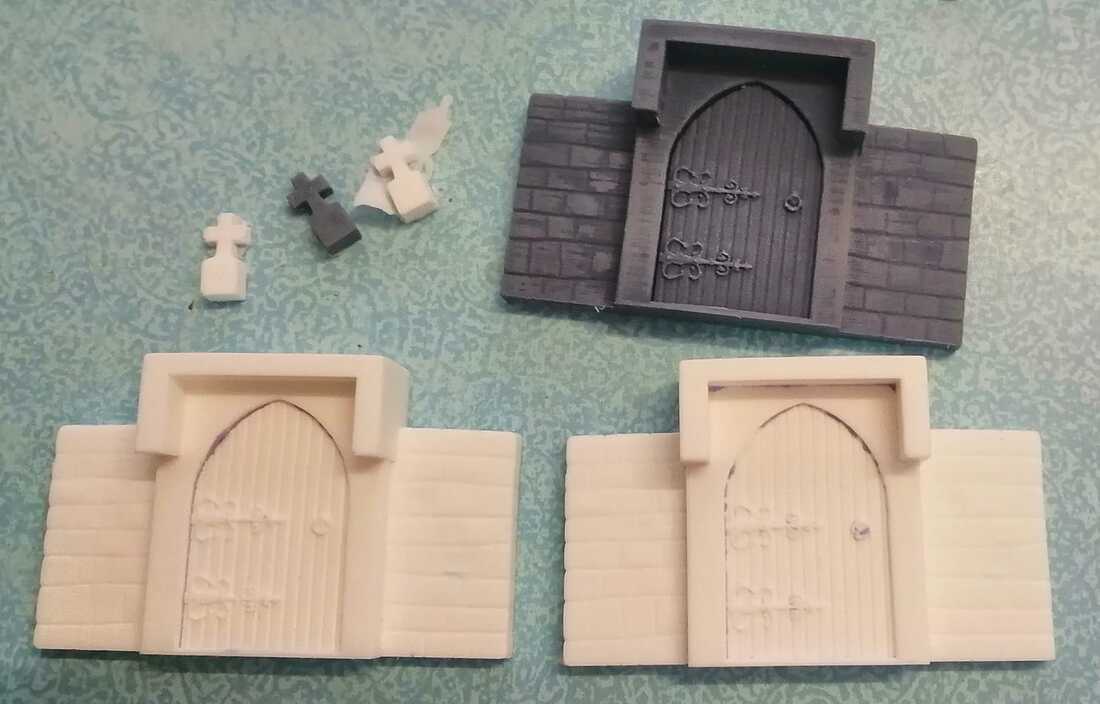
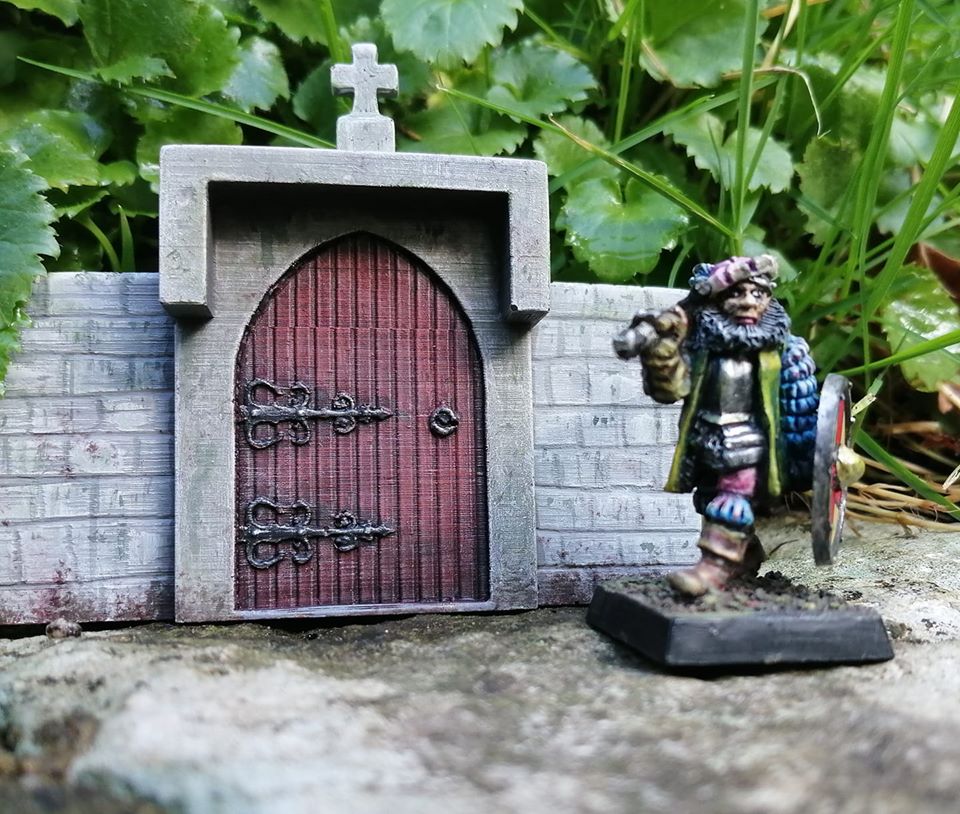
Pla is actually pretty nice to work with with sandpaper, knifes, file etc and takes paint well, but because of the limits of FDM you are going to need to do a lot of it. This means it's probably best not to add a lot of tiny surface detail in the 3d model. Use the printer to generate the gross shapes and then add surface details and texture the usual way with putty, etched brass etc. Similarly design the prints for ease of clean up. It's much easier to sand individual parts than a complete model in many cases.
What did I think of the Ender 3 Pro?
It didn't start well. Somebody told me they burn houses down. So a slow printer than can't be left unattended. Mine was completely unaligned out of the box and took significant rebuilding. The instructions are pretty much useless. There are no exploded diagrams anywhere that I could find. I had a magnetic bed, the plastic z-limit switch mount was designed for a glass bed which is thicker. So the z limit switch is in the wrong place. Based on info on reddit, I cut the locating tab off mine and mounted it myself in the right place. Oh and my print bad isn't flat which made bed leveling a challenge.
So if someone tells you putting an Ender together is like Ikea, they are talking nonsense. It took me 2 afternoons to get mine together.
Pretty much anytime you do anything with the printer you are going to have to level the bed. This is kind of a misnomer, what you are actually doing is making sure the bed is perpendicular to the print nozzle and is a good distance away from it. The bed leveling springs as supplied are crap (get some thicker ones) and "the thickness of a sheet of paper" isn't very helpful since that distance depends on the nozzle size in play among other things. Anway, bed leveling is a pain and takes about half an hour. It definitely helps if the printer is in a brightly lit location. It's hard to work on if you can't see.
I've run my printer for about 25 hours and I've had to tighten the x-axis belt tensioner. I've also discovered that my y-axis wheels are too tight and are eating themselves against the drive rail.
Changing filament isn't too hard. Changing nozzle takes about half and hour, plus you'll want to level the bed after.
What I'm saying is that you can expect to spend an hour fiddling with the printer for every 6 hours it spends printing... which isn't great. It isn't terrible, but it isn't great either.
Summary
I would say this printer is good for roughing out parts. It's not really up to doing wargame miniatures at commercial quality levels, but for models or terrain as long as you don't expect perfect surface texture quality and are prepared to put in some work on the finished article it's not bad if a little frustrating to use sometimes. Also as a prototyping machine to test prints before sending them out to Shapeways for higher quality printing its probably pretty good.
Before I got the printer I had done quite a bit of 3D printing using services like ShapeWays but I'd never had direct exposure to slicing. Cura is a free slicer and seems popular with the miniatures community. It generates the gcode (Tool path) for the 3d printer. I had assumed that the slicer would just "rasterize" each slice but actually the fill pattern is quite complex, aiming for best quality whilst having a hollow component. Cura is also where you add stuff like supports which are required to enable overhanging regions in the model. You can also orient a model so that the supports don't obscure details on the face or front of the model.
The biggest thing I learned about slicing was to trust the slicer. You can move up and down the layers and play the tool path in the preview option after slicing. Carefully checking the model Cura before printing saves hours of frustration with failed prints.
I used the fat dragon games profiles for the printer, they are popular and work well. Their models are also very nice if a bit simple, however they print without the use of supports and so are ideal for use with an FDM printer. Definitely worth checking out.
Finishing
Pla is actually pretty nice to work with with sandpaper, knifes, file etc and takes paint well, but because of the limits of FDM you are going to need to do a lot of it. This means it's probably best not to add a lot of tiny surface detail in the 3d model. Use the printer to generate the gross shapes and then add surface details and texture the usual way with putty, etched brass etc. Similarly design the prints for ease of clean up. It's much easier to sand individual parts than a complete model in many cases.
What did I think of the Ender 3 Pro?
It didn't start well. Somebody told me they burn houses down. So a slow printer than can't be left unattended. Mine was completely unaligned out of the box and took significant rebuilding. The instructions are pretty much useless. There are no exploded diagrams anywhere that I could find. I had a magnetic bed, the plastic z-limit switch mount was designed for a glass bed which is thicker. So the z limit switch is in the wrong place. Based on info on reddit, I cut the locating tab off mine and mounted it myself in the right place. Oh and my print bad isn't flat which made bed leveling a challenge.
So if someone tells you putting an Ender together is like Ikea, they are talking nonsense. It took me 2 afternoons to get mine together.
Pretty much anytime you do anything with the printer you are going to have to level the bed. This is kind of a misnomer, what you are actually doing is making sure the bed is perpendicular to the print nozzle and is a good distance away from it. The bed leveling springs as supplied are crap (get some thicker ones) and "the thickness of a sheet of paper" isn't very helpful since that distance depends on the nozzle size in play among other things. Anway, bed leveling is a pain and takes about half an hour. It definitely helps if the printer is in a brightly lit location. It's hard to work on if you can't see.
I've run my printer for about 25 hours and I've had to tighten the x-axis belt tensioner. I've also discovered that my y-axis wheels are too tight and are eating themselves against the drive rail.
Changing filament isn't too hard. Changing nozzle takes about half and hour, plus you'll want to level the bed after.
What I'm saying is that you can expect to spend an hour fiddling with the printer for every 6 hours it spends printing... which isn't great. It isn't terrible, but it isn't great either.
Summary
I would say this printer is good for roughing out parts. It's not really up to doing wargame miniatures at commercial quality levels, but for models or terrain as long as you don't expect perfect surface texture quality and are prepared to put in some work on the finished article it's not bad if a little frustrating to use sometimes. Also as a prototyping machine to test prints before sending them out to Shapeways for higher quality printing its probably pretty good.


 RSS Feed