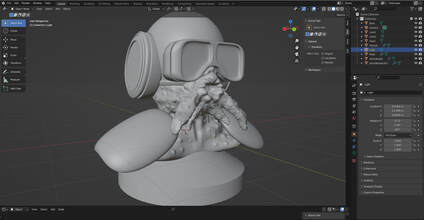
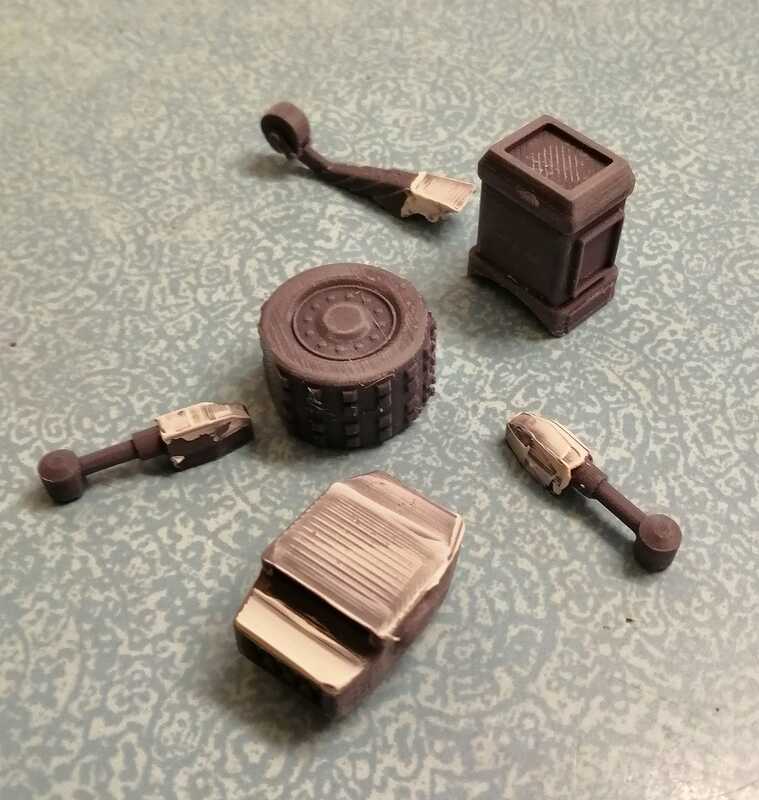
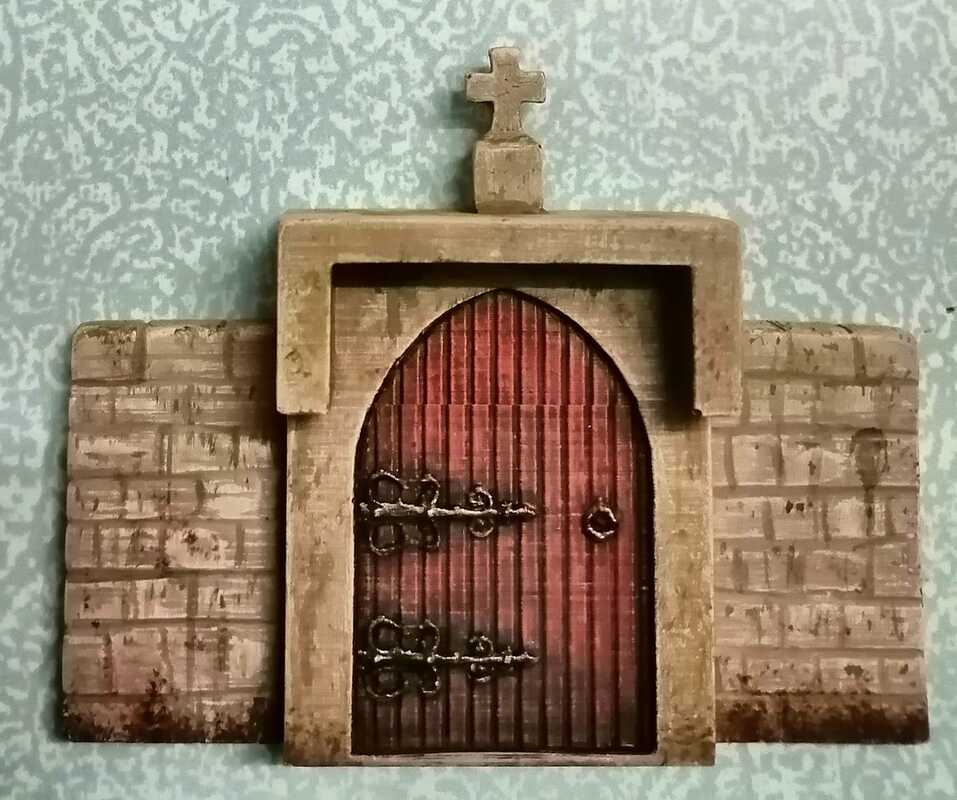
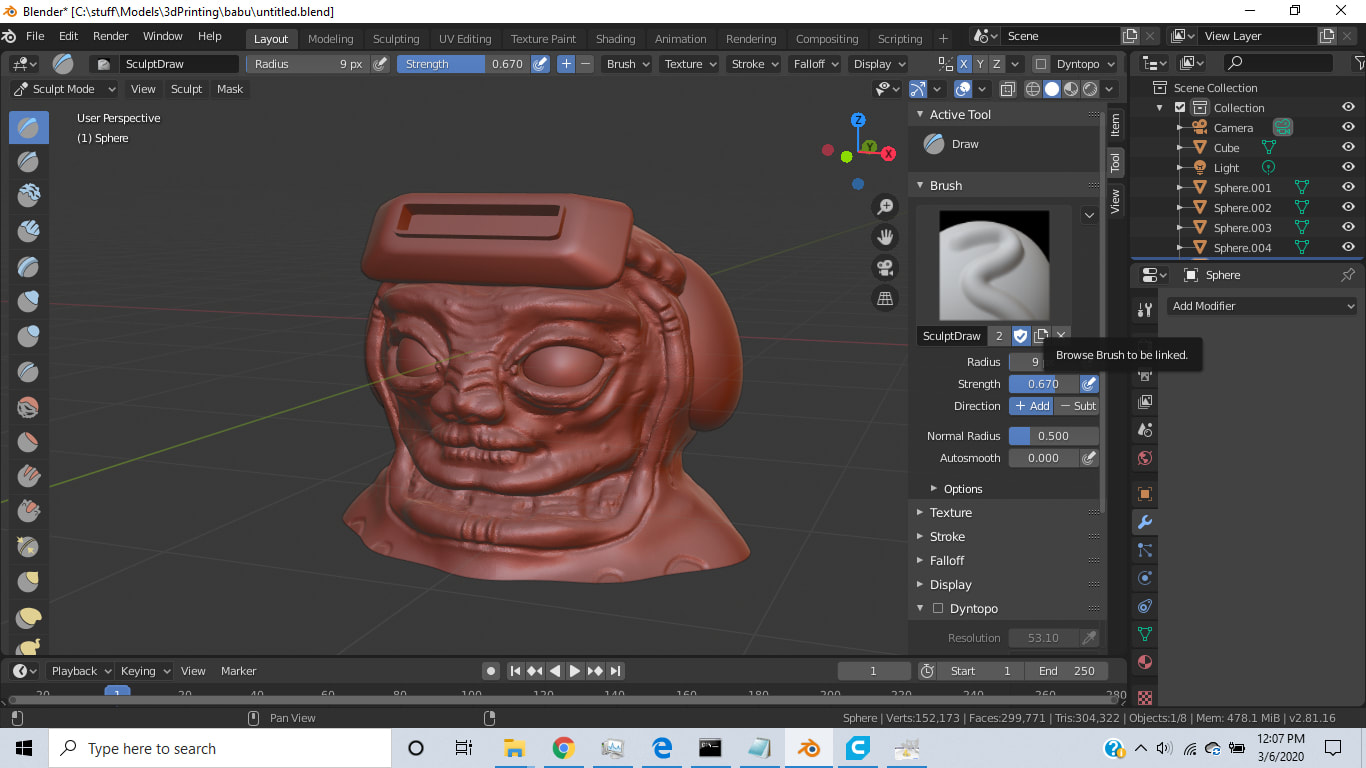
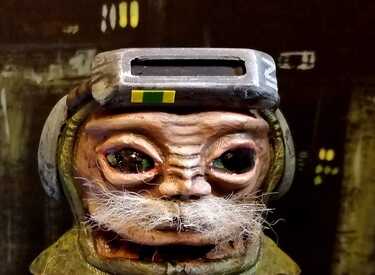
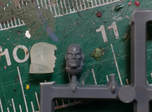
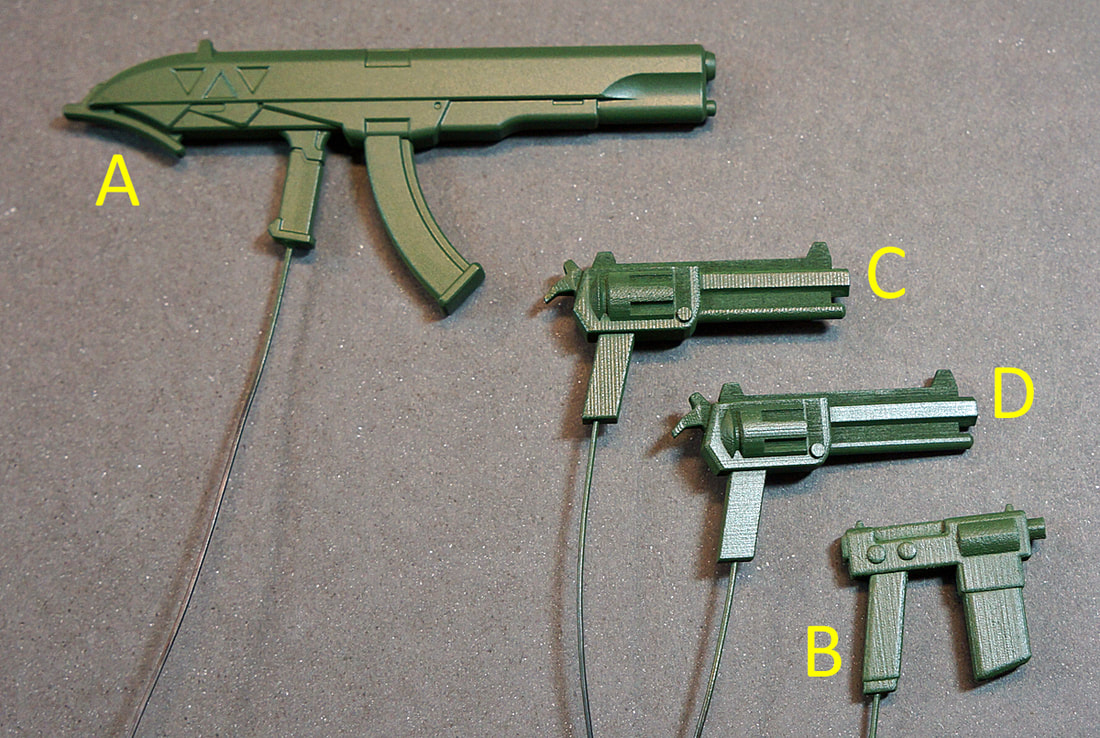
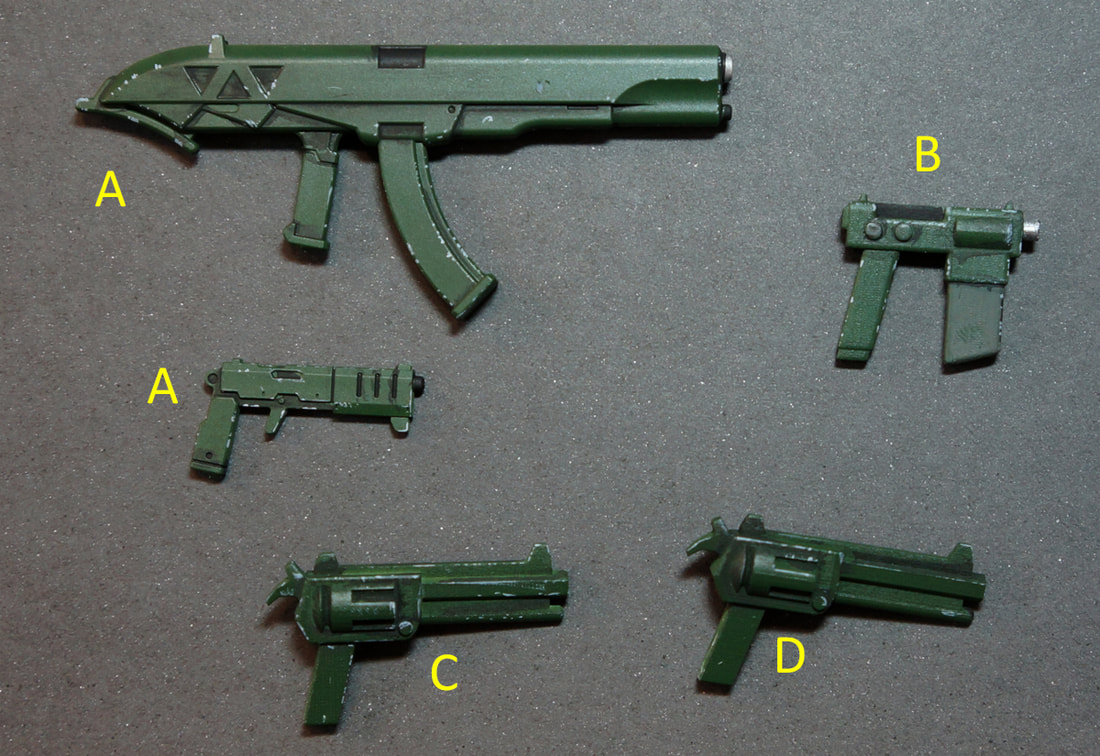
I got the urge to do a bit more 3d printing. This was sculpted in Blender and printed using a mulitjet fusion machine by Shapeways. As you can probably see the surface texture is... not ideal for scale models although the material does seem to be durable (it's nylon balls glued together).
One good thing with SLS and MJS is no supports are needed which makes print set up simple. If I was going to print this using FDM I would break it into parts and align them for supports and to make cleanup and painting easier. Shapeways likes single part models though.
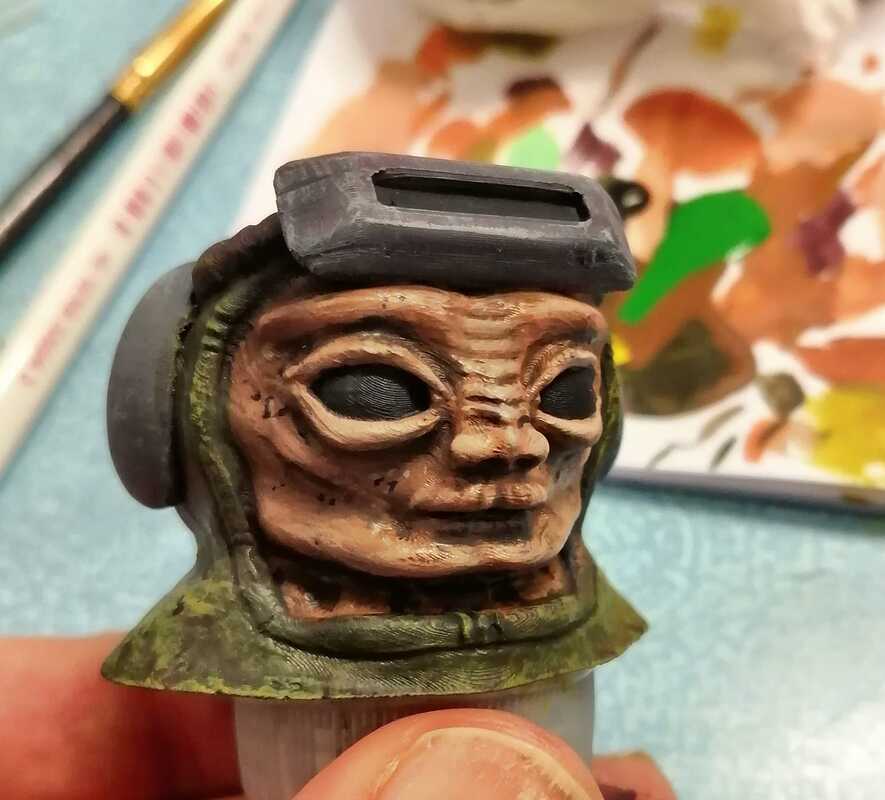
I tried filling the surface with plastic putty but it just peels off when sanded. Thick acrylic paint worked better and sands surprisingly well. Contour putty thinned with acetone would have been better although that smell.
I filled the googles with epoxy to smooth out the printlines, painted them and then added a clear of clear gloss.
But honestly this doesn't look as good as old FDM printer even when it wasn't tuned that well.
Now I just need to fight the urge to buy a new ender-2. :-)
One good thing with SLS and MJS is no supports are needed which makes print set up simple. If I was going to print this using FDM I would break it into parts and align them for supports and to make cleanup and painting easier. Shapeways likes single part models though.
I tried filling the surface with plastic putty but it just peels off when sanded. Thick acrylic paint worked better and sands surprisingly well. Contour putty thinned with acetone would have been better although that smell.
I filled the googles with epoxy to smooth out the printlines, painted them and then added a clear of clear gloss.
But honestly this doesn't look as good as old FDM printer even when it wasn't tuned that well.
Now I just need to fight the urge to buy a new ender-2. :-)
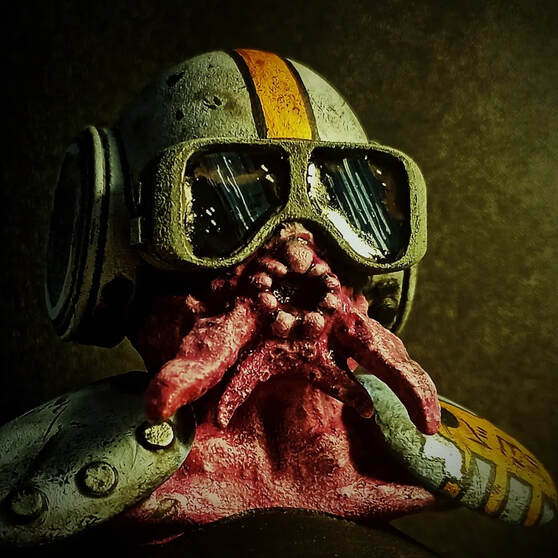
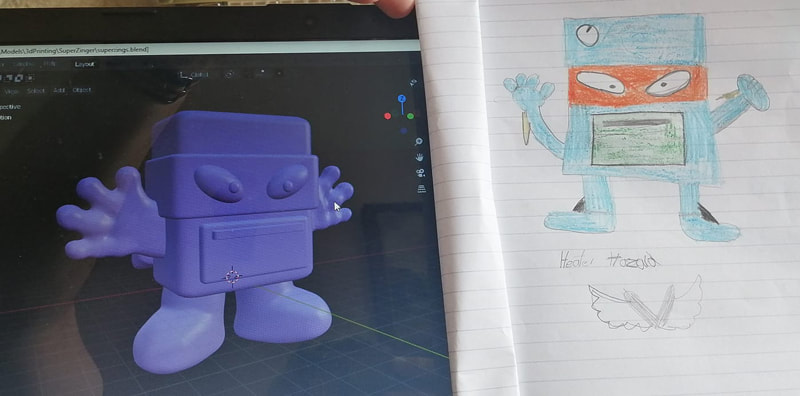
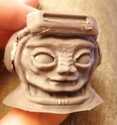
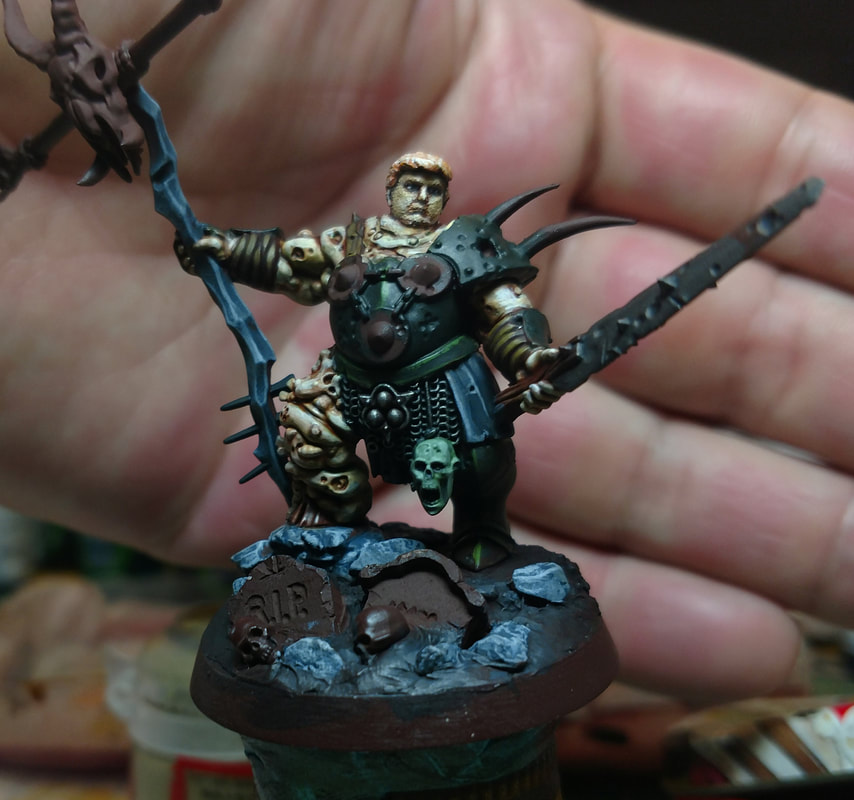
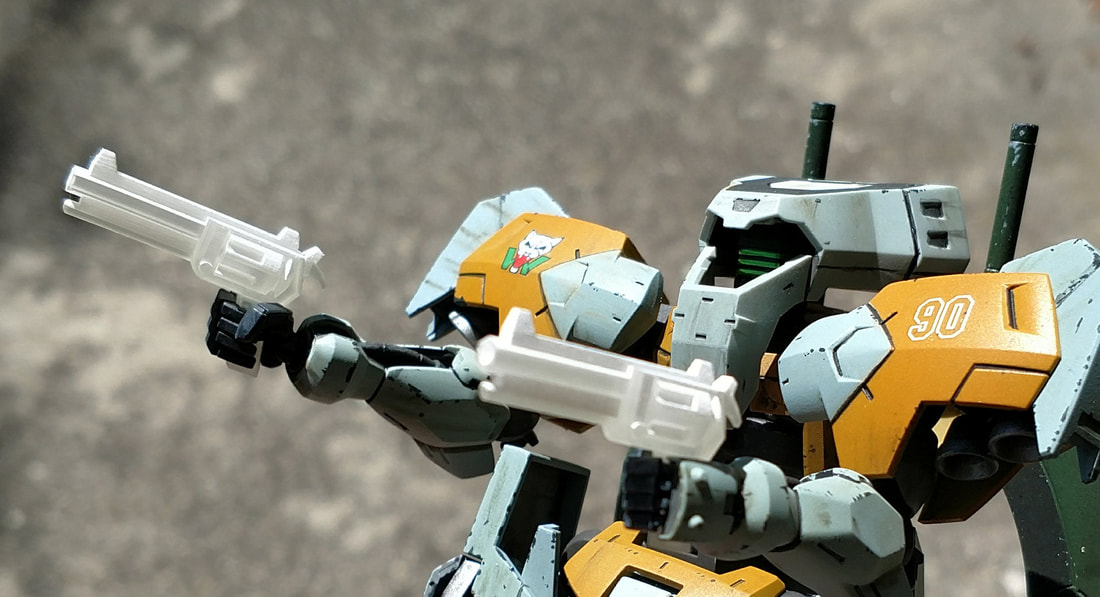
Velin Varchog. Aeroball Champion.
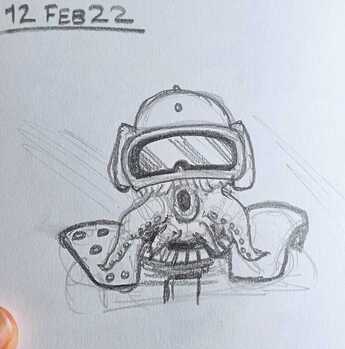 Sketch | 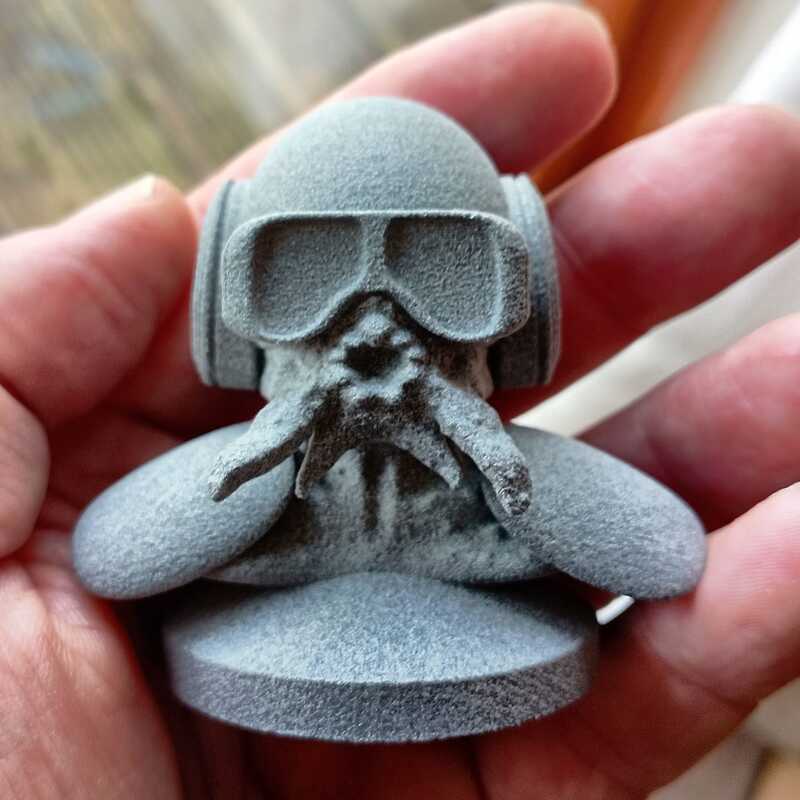 MJS Print |


 RSS Feed