3D Printing for Static Models
I have always had an interest in static models, whether they be planes, tanks, cars or sci fi and fantasy subjects. I have scratch built a wide rang of science fiction vehicles over the years, so the idea of being able to use the computer to rapidly create 3D model components is extremely appealing to me.
In the last year 3D printing seems to have hit the nerd mainstream with many articles on the net and make magazine recently published a 3D printer buying guide, so I decided to take the plunge and make something.
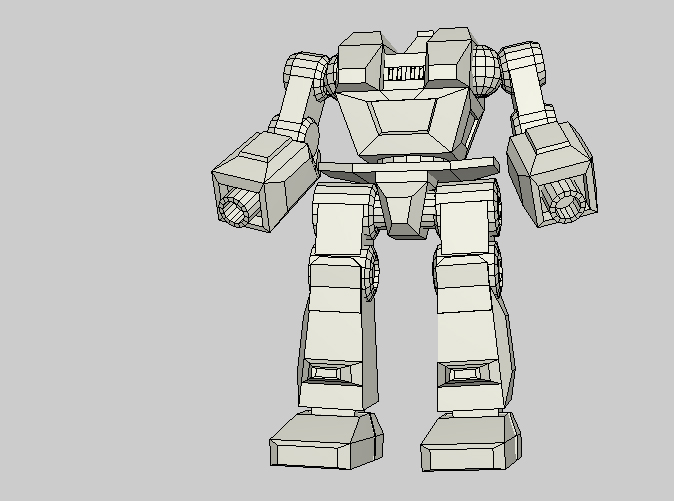
I decided on a simple mech design partly because my 3D modelling skills in the computer are not that great and partly because with duplicated arms and legs, it is exactly the kind of model that is tedious to make by hand.
Modelling
I used Wings3D to generate the model for printing. Wings is open source and completely free to use. It can export .obj and .stl files which are common file formats used by 3D printers. It is also one of the most intuitive 3D modeling packages I have ever used.
I kept the model fairly simple and generic, this was after all just a test of the printing system and materials.
I used the free version of NetFabb to scale the model and optimize it for 3D Printing.
I kept the model fairly simple and generic, this was after all just a test of the printing system and materials.
I used the free version of NetFabb to scale the model and optimize it for 3D Printing.
Choosing a PrinterFor my photography I spent many hours agonizing over buying a wide carriage photo printer so I could make big prints at home and I came to the conclusion that it made more sense to use a service like Shutterfly or Mpix. They have better printers than I could afford, a wide range of paper choices, and trained technicians watching over everything.
So for 3D printing it made more sense to me, to use a 3rd party for printing rather than buying my own machine. I chose to go with Shapeways as a printer. They provide a high quality web interface for uploading models and even let you create your own store and sell models to others. How Printing WorksMost people have seen the simple deposition printers that basically squirt out a thin stream of melted abs to create a model. For the most part these do not create high quality results. Shapeways uses an ABS sintering process using a laser. It isn't something you'd really want to mess with at home because of the dust involved but it does allow for extremely complex models including "impossible shapes" to be created with good surface fidelity.
|
PrintingWatch this video to learn about the way objects are printed by Shapeways.
|
The Actual Print
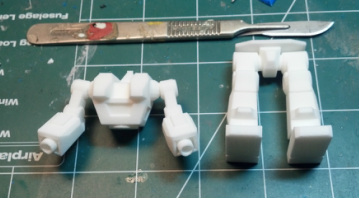
My first submission was rejected by Shapeways because there were wall thickness issues. Their support department were very good about letting me know and showing me where the problems were. On reflection I realized that the model was actually smaller than I wanted it to be, so the simplest fix was to double its size and resubmit the file. Turn around time was about 3 weeks.
Doubling the size of the model took it to 80mm tall. This print costs $35 dollars which might seem expensive, but if you consider the time it might take to construct such a model by hand ( many hours ) it is actually quite cheap.
Doubling the size of the model took it to 80mm tall. This print costs $35 dollars which might seem expensive, but if you consider the time it might take to construct such a model by hand ( many hours ) it is actually quite cheap.
Print Quality
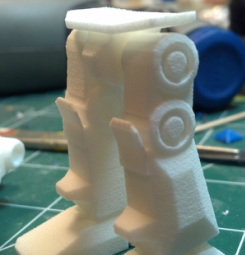
If you take a look at the picture on the right you can see the grain and rough texture of the model. The model has a rough feeling to it and certainly needs work before any paint can be applied. ABS isn't the worst material to work with but it isn't the nicest either. Getting this surface mirror smooth would be very hard indeed.
Next time I will opt for a smoother finishing option.
CORRECTION:: Actually Shapeways White Strong and Flexible isn't ABS, its nylon. I will use Frosted Detail from now on, which produces a better surface and its more workable.
Next time I will opt for a smoother finishing option.
CORRECTION:: Actually Shapeways White Strong and Flexible isn't ABS, its nylon. I will use Frosted Detail from now on, which produces a better surface and its more workable.
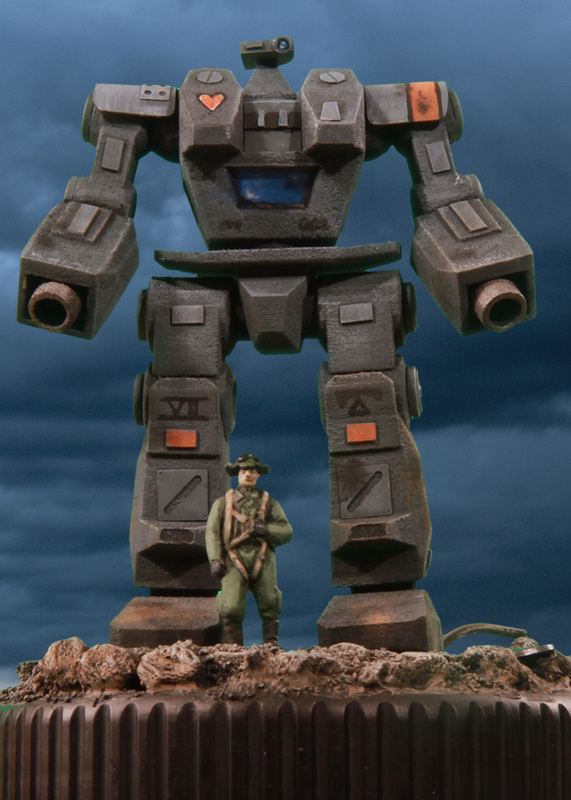
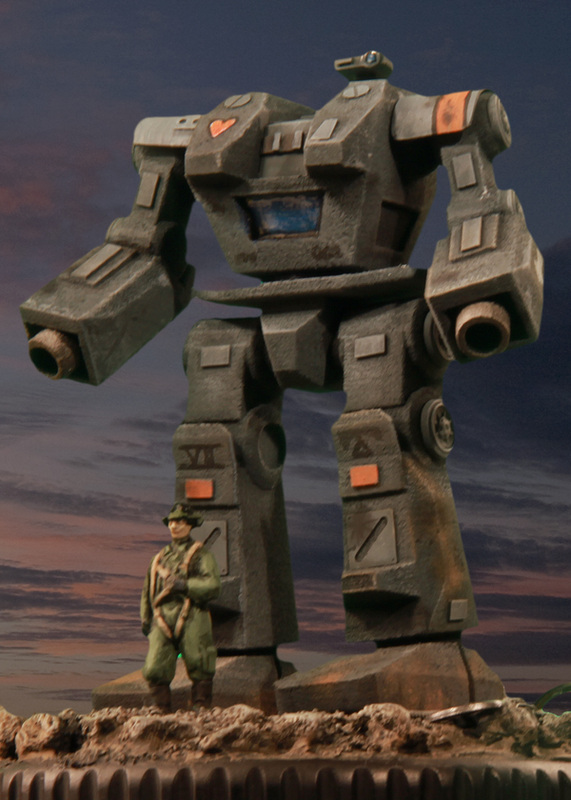
FinishingWell this is a sci fi model and not a racing car, so we can on some level live with the surface texture. Its errrmmm "polyceramic titanium matrix armor" which has a rough finish. Also if we assume this robot is 1/35th scale where a man is 50mm tall the texture is much less serious than at 1/72 scale where a man is only 15mm tall.
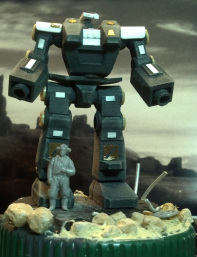
ABS is compatible with all hobby products, so detailing the model to taste is little different from any other scratch build or kit bashed model. I added some extra surface detail using model bits, plastic sheet and etched brass Gundam detailing parts. Sprayed with Tamiya acrylics and then finished with Vallejo acrylics and pastels. I also made a small terrain base for it from a coffee jar lid and added a 1/72 scale pilot. |
But wait, there's more!
Visit my Shapeways store by clicking here

